Getting Started
Ultramarine Linux comes in a form of an ISO image, which can be used to make a bootable DVD, or be flashed onto a USB stick.
This guide will help you get the correct ISO image, create your boot image and install Ultramarine Linux on your computer.
Downloading
Choosing your edition
Ultramarine Linux comes in 4 variants:
- The Flagship Edition, which is the default and most popular variant, powered by the Budgie desktop environment and is made to stay out of your way. This is probably the version you want to use, and its desktop layout is similar to Windows or Chrome OS.
- The GNOME Edition, with the GNOME desktop environment designed to be elegant and modern. This is the variant you want if you would like a simple, unique experience.
- The Pantheon Edition, featuring elementary OS’ Pantheon Desktop, made to be familiar to users coming from macOS.
- The KDE Edition, a new variant for Ultramatine 37, with a fresh look and feel inspired by Pop!_OS.
Ultramarine Linux supports Intel and AMD (amd64/x8664) and ARM computers. Despite supporting ARM computers, Ultramarine Linux **_DOES NOT** support M1 and M2 Macs.
The ISO images are available for download from the Ultramarine Linux website.
Checking the integrity of the ISO image (Recommended)
If you would like to make sure the ISO image is valid, Ultramarine ISO images all come with a CHECKSUM file that can be checked against the image itself.
The checksum file is a SHA256 checksum of the ISO image, you can use the following command to check the integrity of the ISO image (if you’re using another Linux distribution)
sha256sum -b /path/to/ultramarine.iso # Generate the checksum for the ISO image
cat /path/to/CHECKSUM # Check the checksum

# Now you can compare the checksum
Verifying the checksum on Windows
CertUtil -hashfile PATH\TO\ULTRAMARINE.ISO SHA256
# Open the CHECKSUM file with Nodepad and compare the checksum
Creating the bootable media
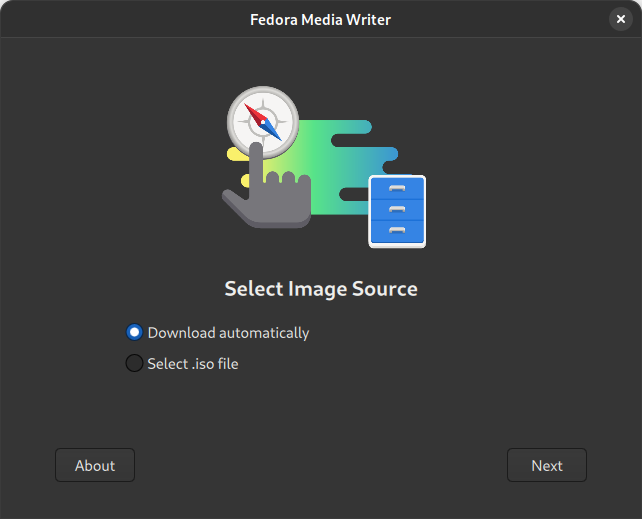
With Ultramarine Linux
You can use the Fedora Media Writer to create a bootable media from the ISO image.
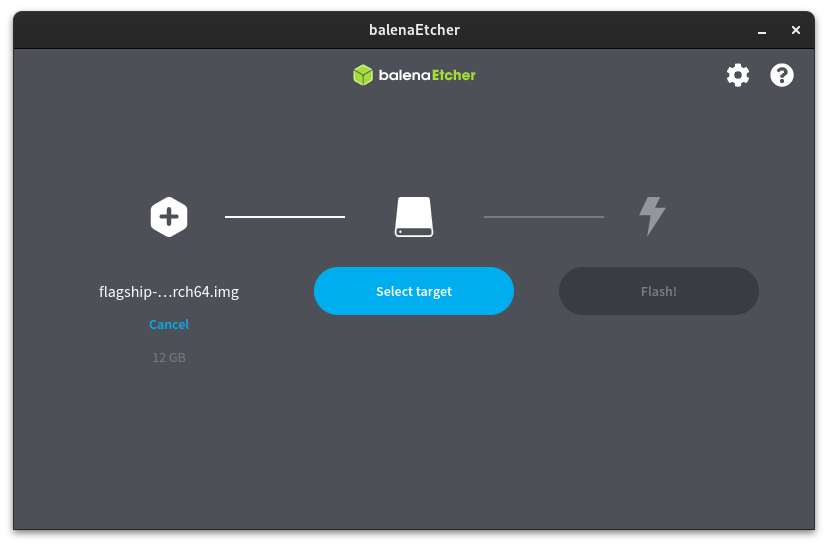
With other operating systems (Windows, macOS, other Linux distributions)
You can use balenaEtcher to create a bootable media from the ISO image.
With Windows (alternative)
You can use Rufus to create the bootable image.

Booting to Ultramarine Linux
After flashing the image to your USB drive, you can boot to Ultramarine Linux by plugging in the drive and restarting your computer.
Before your computer boots to your current OS, please refer to your computer’s documentation on which key to press to select a custom boot option.
Most BIOS has a special key that can be used to select a boot device, or to enter the BIOS setup screen. This varies from brand to brand. These keys may be Esc, F1, F2, F8, F11, F12, or even Del. The BIOS will usually display a message on the screen briefly on startup. If you’re not sure which key to press, look up the BIOS setup instructions on the internet or ask your computer manufacturer.
On Macs, press power, then hold down the Alt or Option key until the Apple Logo appears.