Getting Ultramarine Linux
System Requirements
If your computer could run Windows 7 well, chances are it’ll run Ultramarine Linux. You should check the System Requirements to make sure
Choosing Your Edition
Ultramarine Linux comes in 4 variants:
- Plasma Edition: Our recommended edition for general use and a community favorite with an Ultramarine twist. Simple defaults and wide-ranging customizations.
- Xfce Edition: A lightweight and elegant experience designed to help you squeeze the most out of your device, or revive an old one.
- Budgie Edition: A familiar and stylish experience with a bit of flair.
- GNOME Edition: A simple, elegant, and intuitive desktop with a large ecosystem of apps and extensions.
Check the System Requirements to make sure your hardware is supported.
Ultramarine Linux is distributed in various formats available for download from our website.
Fyra Labs cannot guarantee the safety or quality of images downloaded from sites other than our website or FOSSTorrents
Microsoft Surface Devices
Ultramarine is available with Microsoft Surface support out of the box. Downloads can be found on our website, and more information can be found here.
Windows Subsystem for Linux
Ultramarine offers a WSL build/application.
This can be found on the microsoft store, with winget, or can be installed with an offline script found on it’s anywhere page here.
Raw Images and Raspberry Pi
Ultramarine is also available as a raw (or preinstalled) image. These images come with a desktop preinstalled and are intended to be flashed directly to the drive your device will boot from (like an SSD or an SD card.)
These can be found in the Raw Image sections of the download page.
If you’re using a Raspberry Pi 4, you can skip these steps and use Raspberry Pi Imager! Either insert an empty microSD and press shfit at startup, or use it on another device.
Verifying the Safety of an Ultramarine Image (Recommended)
Ultramarine images have a matching checksum file that can be checked against the image itself.
They can be downloaded by clicking the View checksum button on the download page.
Verifying the Checksum on Linux and macOS
You can use the following commands to check the integrity of the image:
sha256sum -b /path/to/ultramarine.iso # Generate the checksum for the image
cat /path/to/checksum # Check the checksum

# Now you can compare the checksum
Verifying the Checksum on Windows
In Powershell, run this command:
CertUtil -hashfile PATH\TO\ULTRAMARINE.ISO SHA256
# Open the checksum file with Notepad and compare the checksum
If you’re using a Raspberry Pi, stop here and go to the Raspberry Pi instructions
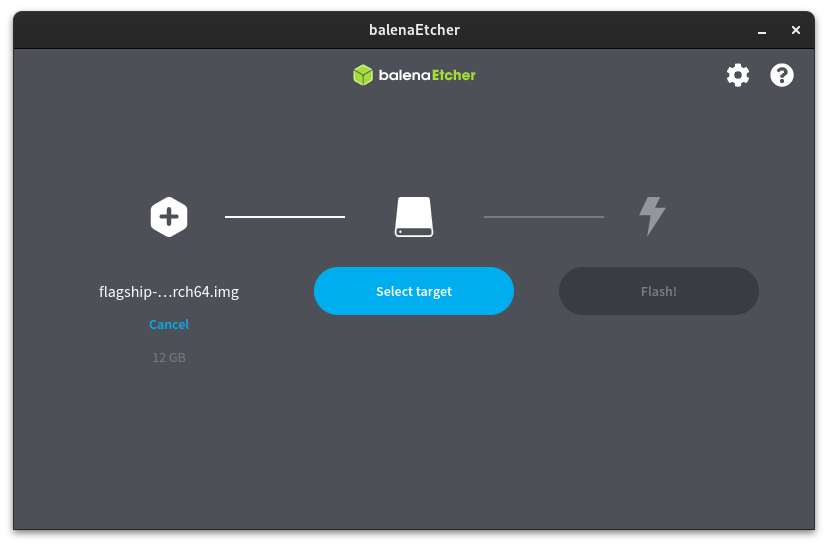
Creating the Installer
Grab a USB stick! Use a flasher program to create an installer from the image. balenaEtcher is an easy cross-platform choice.
You can also use Fedora Media Writer, or the Disks application on Budgie, Xfce, and GNOME editions.
Rufus has been known to cause issues with Ultramarine images.
Booting the Installer
After flashing the image to your installer, you can boot to Ultramarine Linux by plugging in the installer and restarting your computer.
Most computers have a special key that can be used to select a boot device, or to enter the setup screen. This varies from brand to brand, check the BIOS Keys Page for how to enter the boot menu on your machine.
If you’re currently using Windows 10 (or newer) head to the recovery section of settings and select “Advanced Restart”. Once there, select “Use a Device”.
If you’re currently using Linux, you may be able to enter the BIOS by running
sudo systemctl reboot --firmware
Footnotes
- The Anaconda installer is very complex and hard to work with, we are working on a new installer that is easier to use and more reliable.
- Ultramarine’s Budgie edition provides a close to stock Budgie experience, with a custom theme. Unlike Fedora’s Budgie Spin, which provides a completely custom layout and experience.