Installation
If you’re using an Anaconda image, proceed with the instructions below. If you’re using a Readymade Preview image, go here.
You can pick whichever you want, and you’ll be able to start the installer later by opening the Install to Hard Drive/Install to Device application.
Anaconda
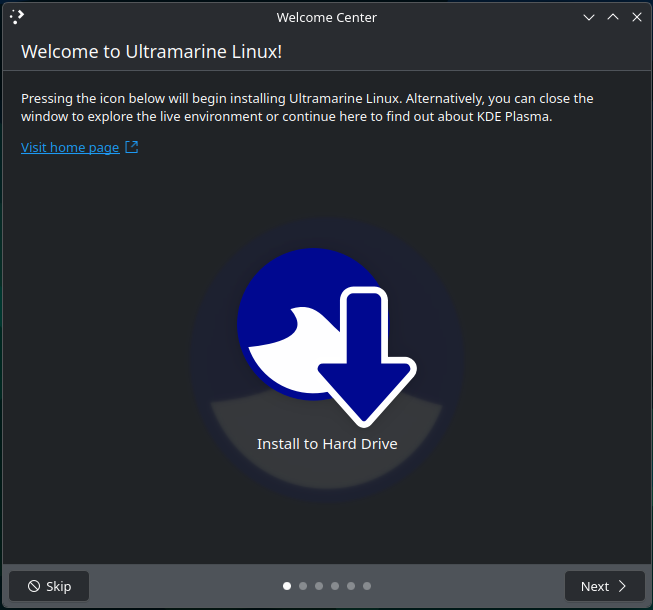
After booting into the live system, you will see a dialog box asking you whether to start the installer or continue with the live system (note, depending on the edition, this dialog box may look different then the screenshot below).
Language Selection
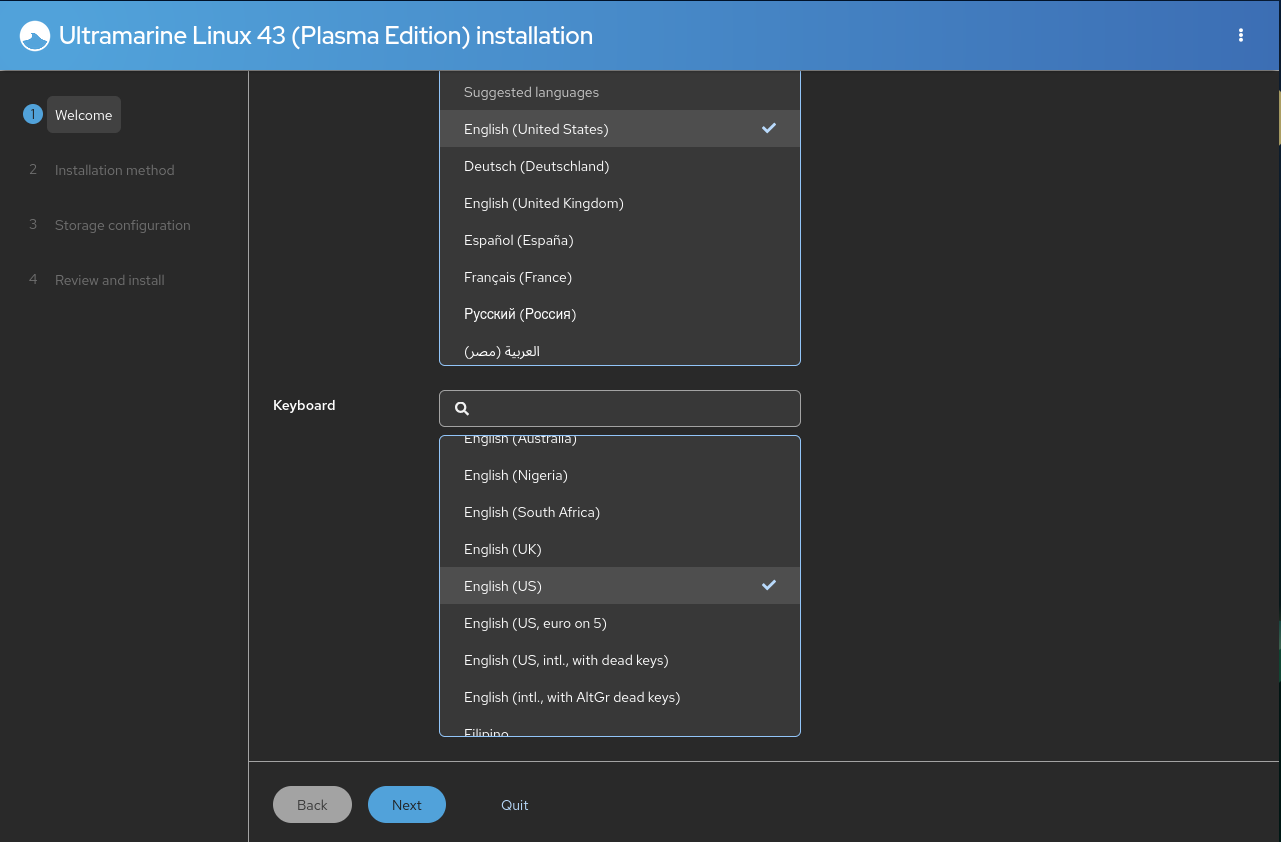
After starting the installer, you will be greeted with a language and keyboard selection screen. Simply choose the language and keyboard layout you would like to use.
Date and Time
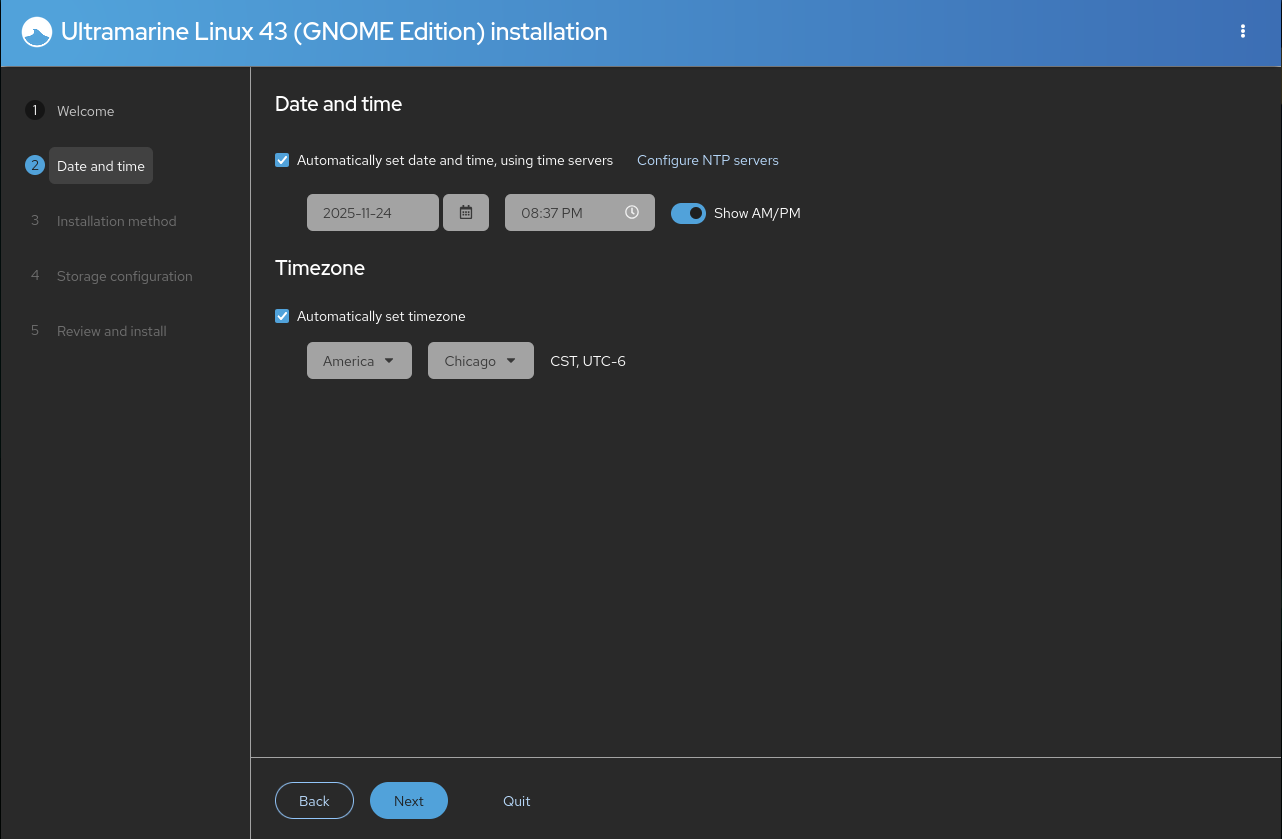
Set your date and time, as well as your time zone. By default, it will be set to automatic
By default, the time is set from your IP address geolocation. If you’re using a VPN or proxy this may not be accurate.
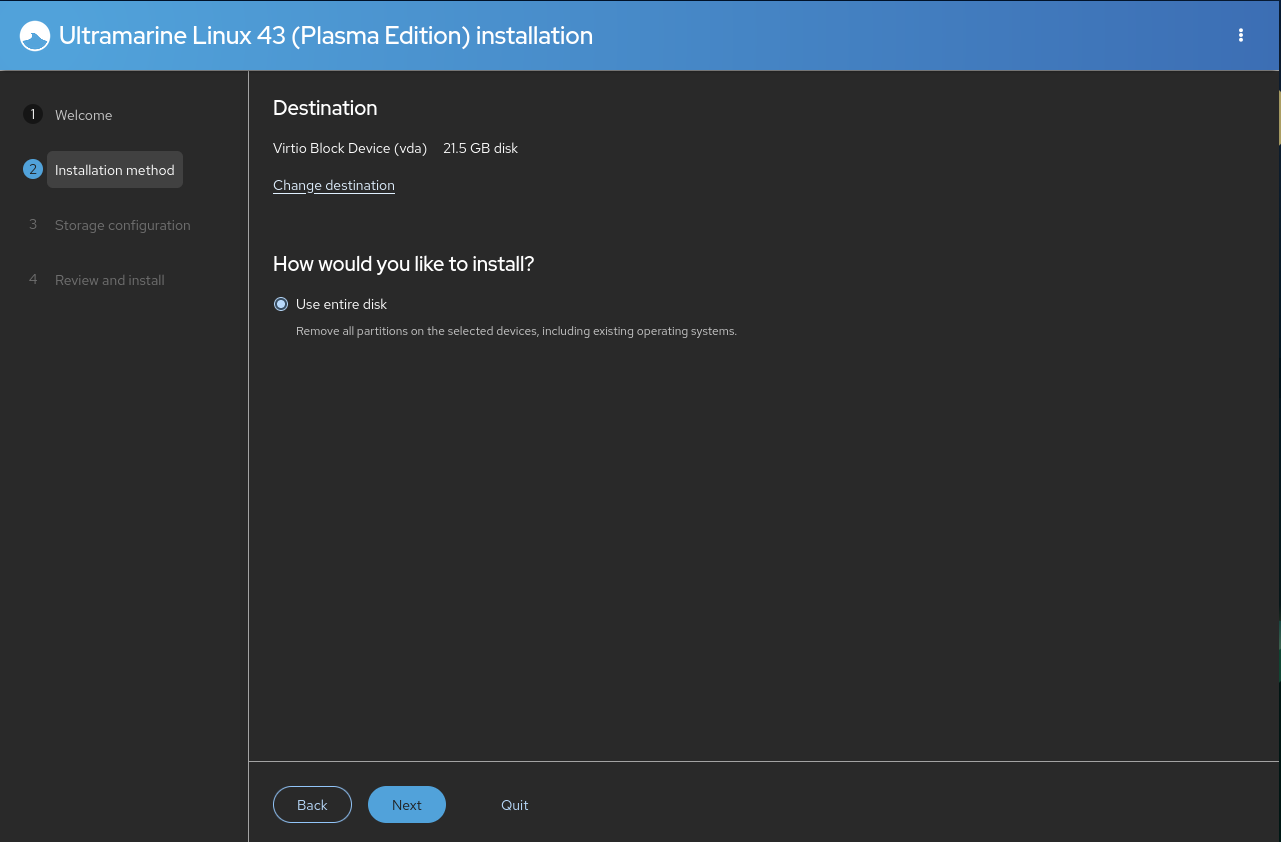
Installation Method
Storage Configuration
Verify your destination drive and install method is correct.
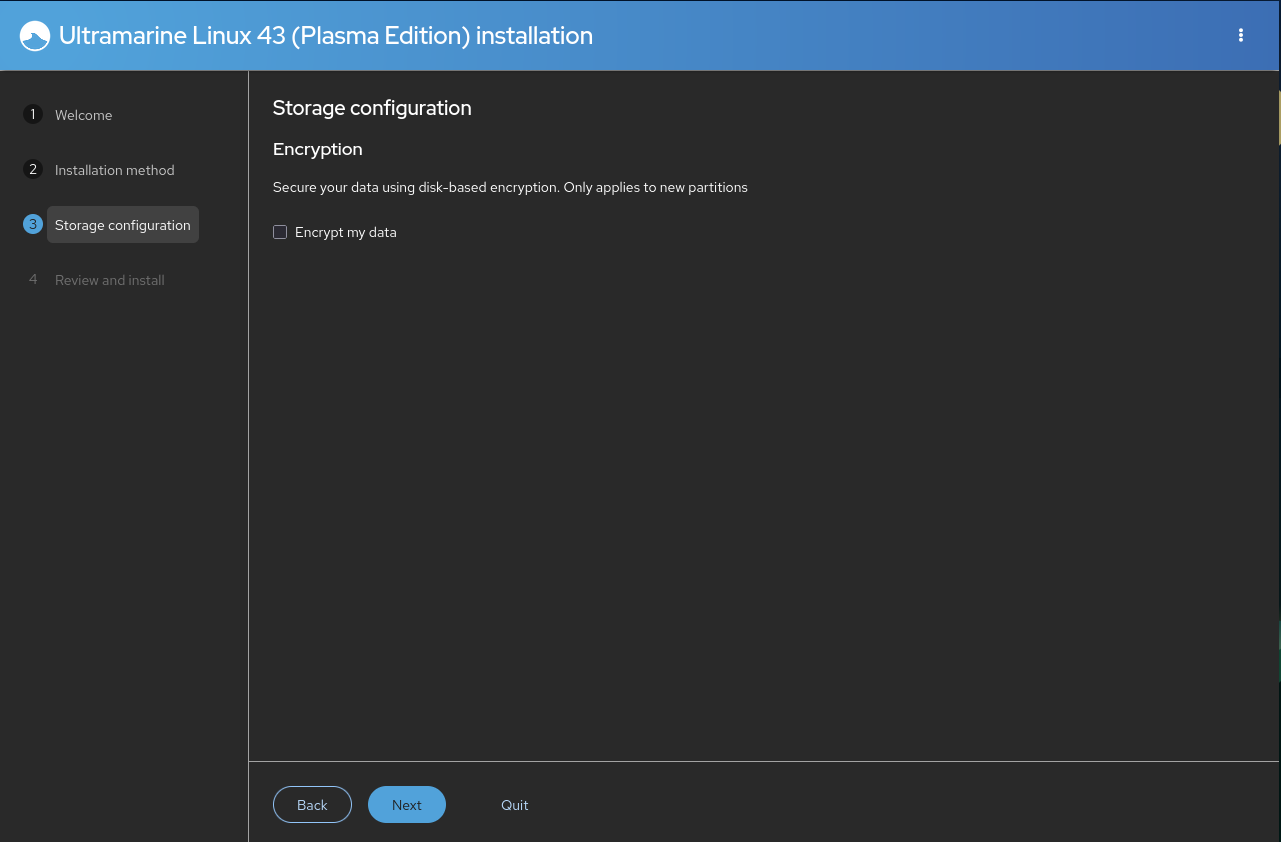
Configure your storage. You also have the option to encrypt your disk. When you encrypt your disk, you will be prompted to enter a password used for encryption. Note that this is in no way tied to your Ultramarine user password.
If you want to set up a custom storage config, select the 3-dot menu on the top right, then select Launch Storage Editor.
We recommend encrypting your disk for added security. Simply select the “Encrypt” checkbox, and you will be prompted to enter a passphrase for encryption. You will need to enter this passphrase every time your system reboots.
For more information on how encryption works, refer here.
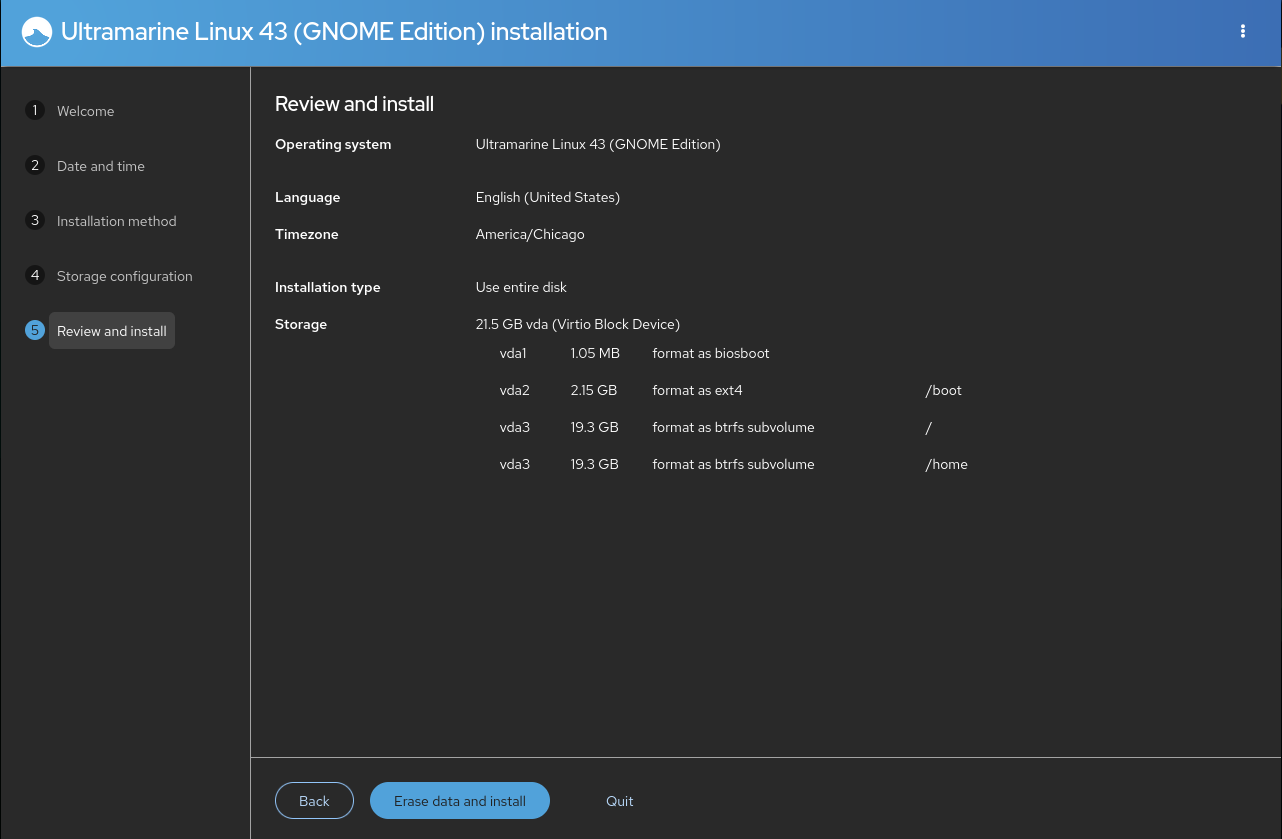
After completing your system configuration, press the Erase data and Install button to continue. The installation process will start and may take a few minutes.
This process is IRREVERSIBLE. If you manage to stop the installer before
it finishes, you will end up with a broken system.
To fix this, you
will have to reinstall.
After the installation process is complete, Anaconda will prompt you to exit back to the live environment. You can reboot your device from the live environment.
When the system reboots, you will be greeted with our out-of-box app, Taidan. For a guide on using Taidan, go here.
Readymade
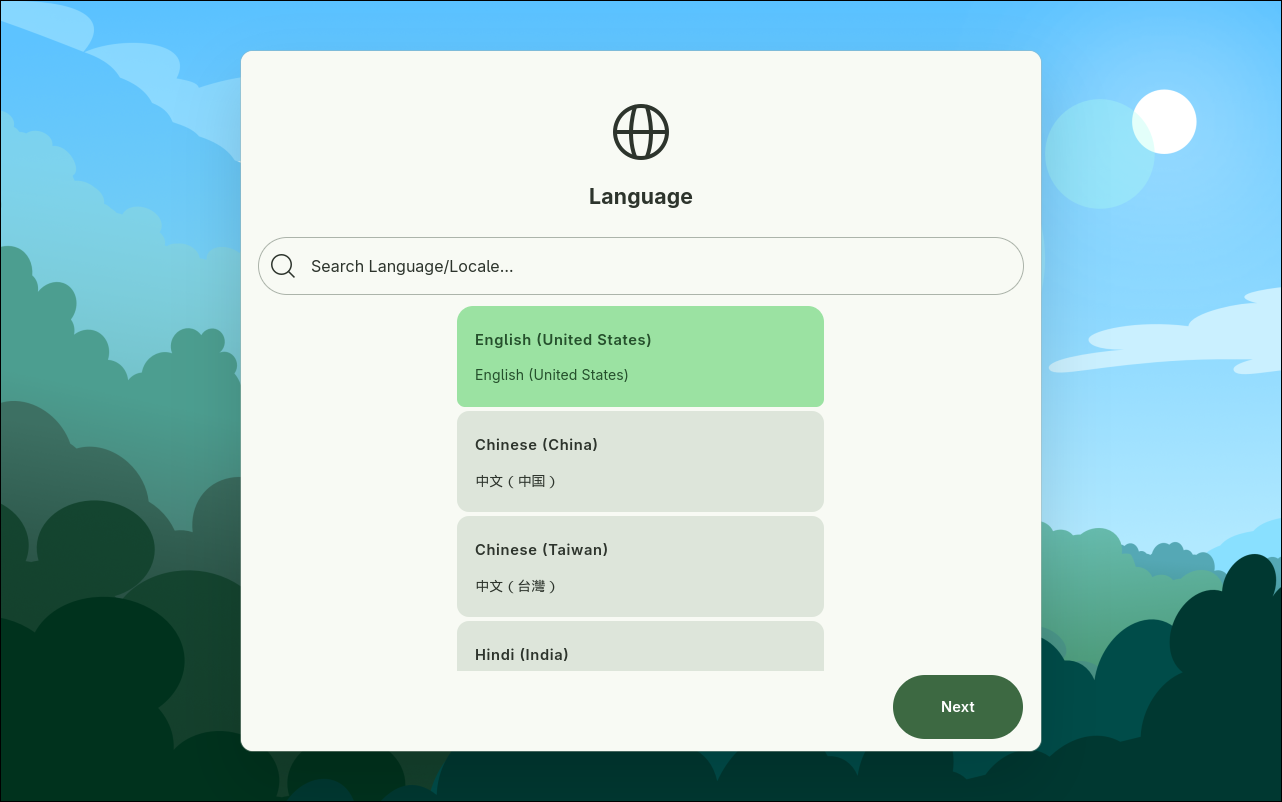
Language Selection
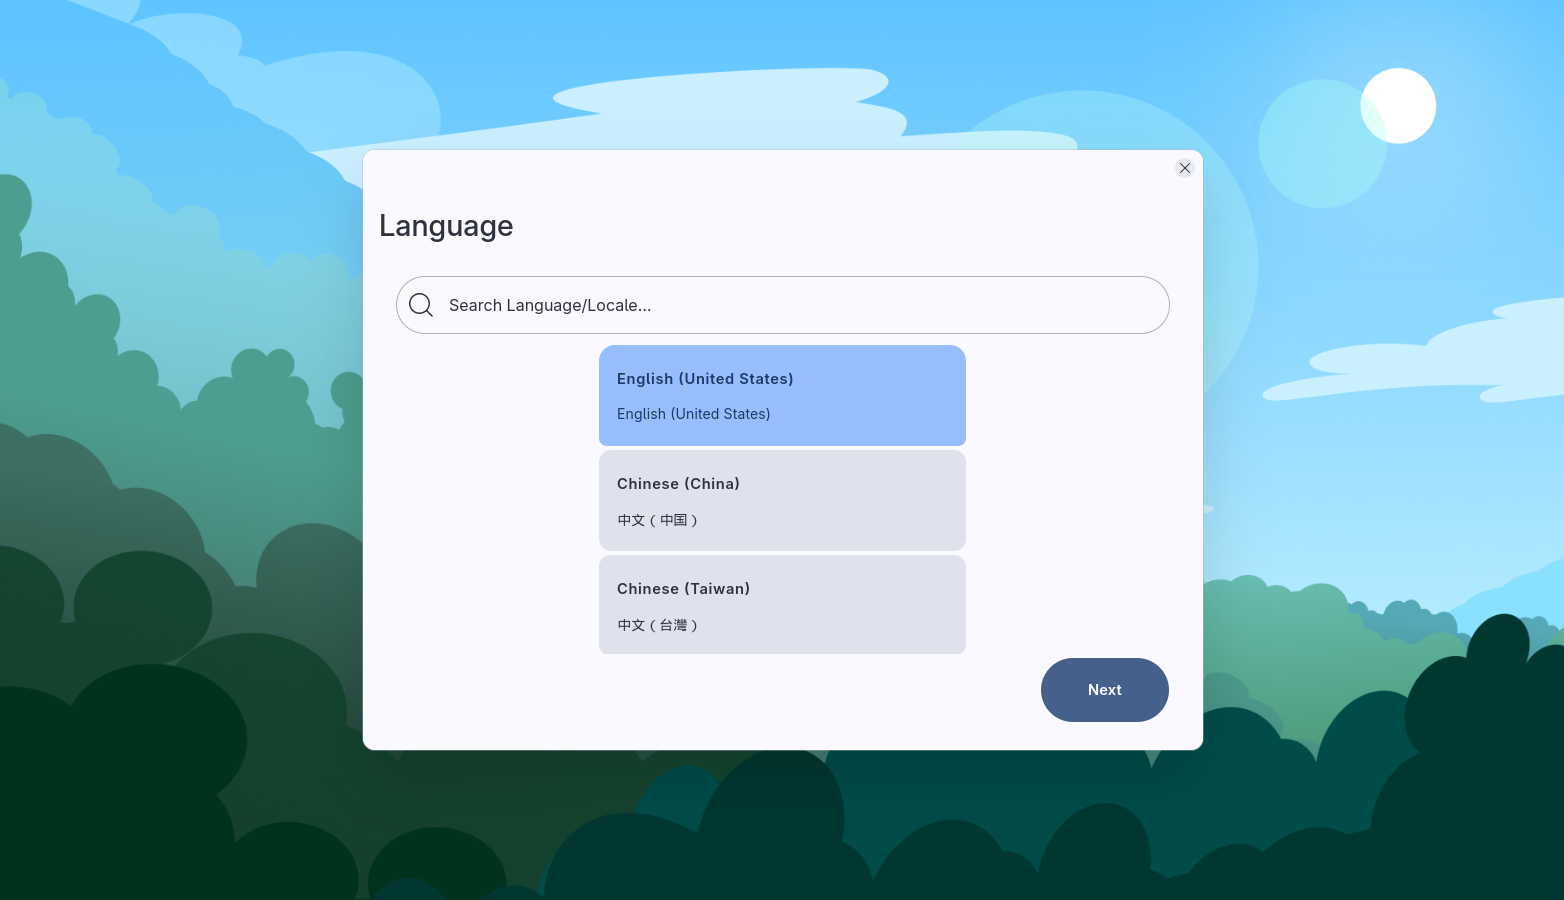
First, select your preferred language.
Welcome Screen
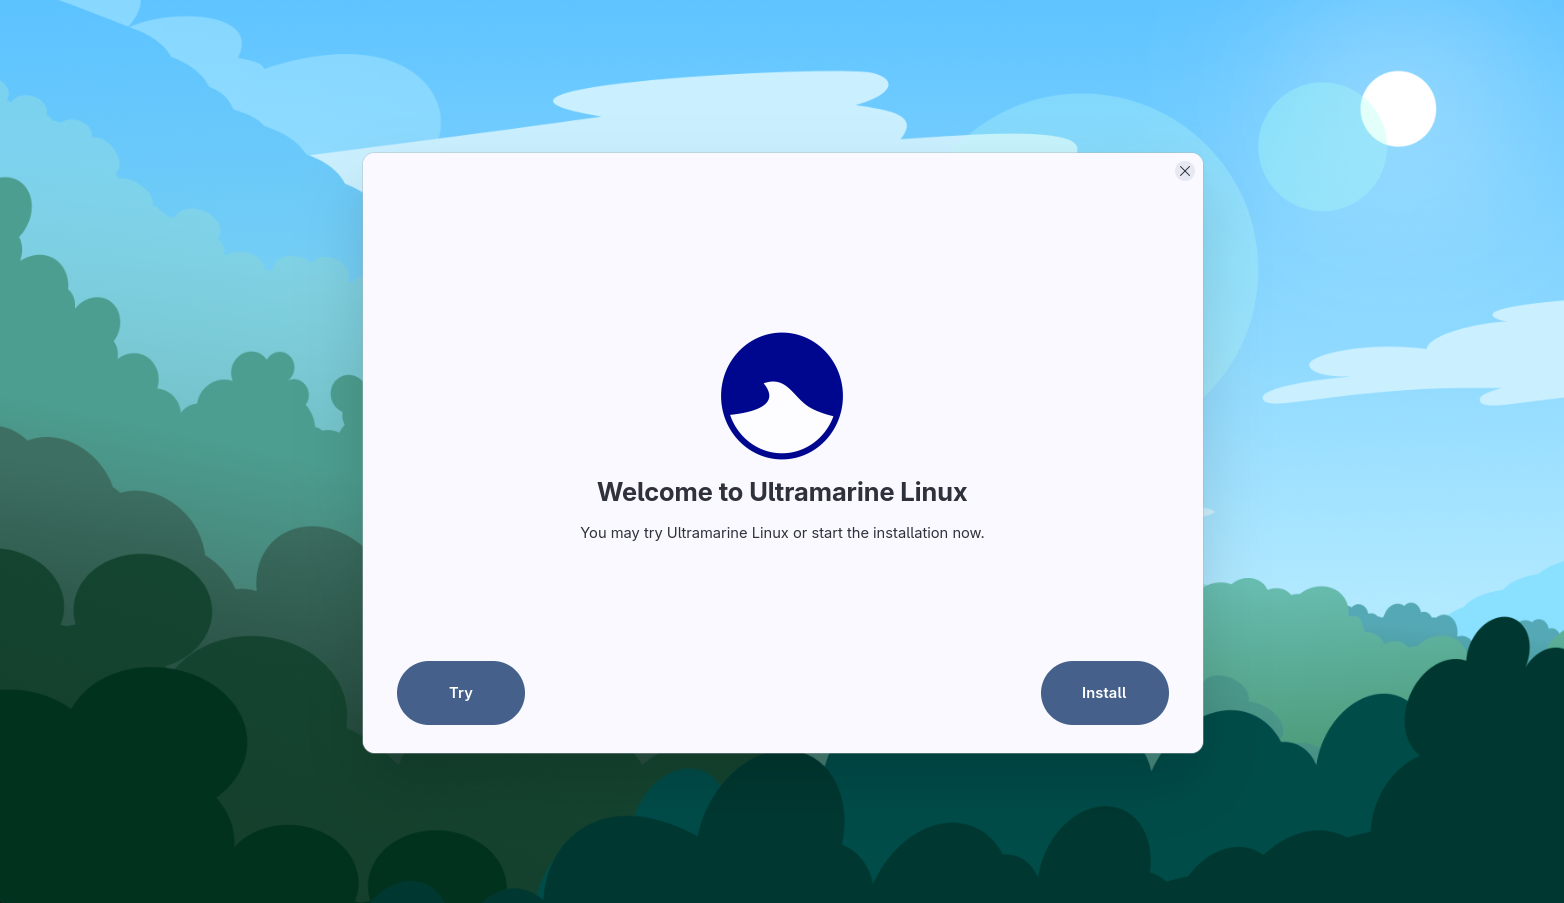
From here you can select Try to continue using the live system, or Install to proceed with installation.
You can select the Install to Device application on the desktop to install at any time.
Install Destination
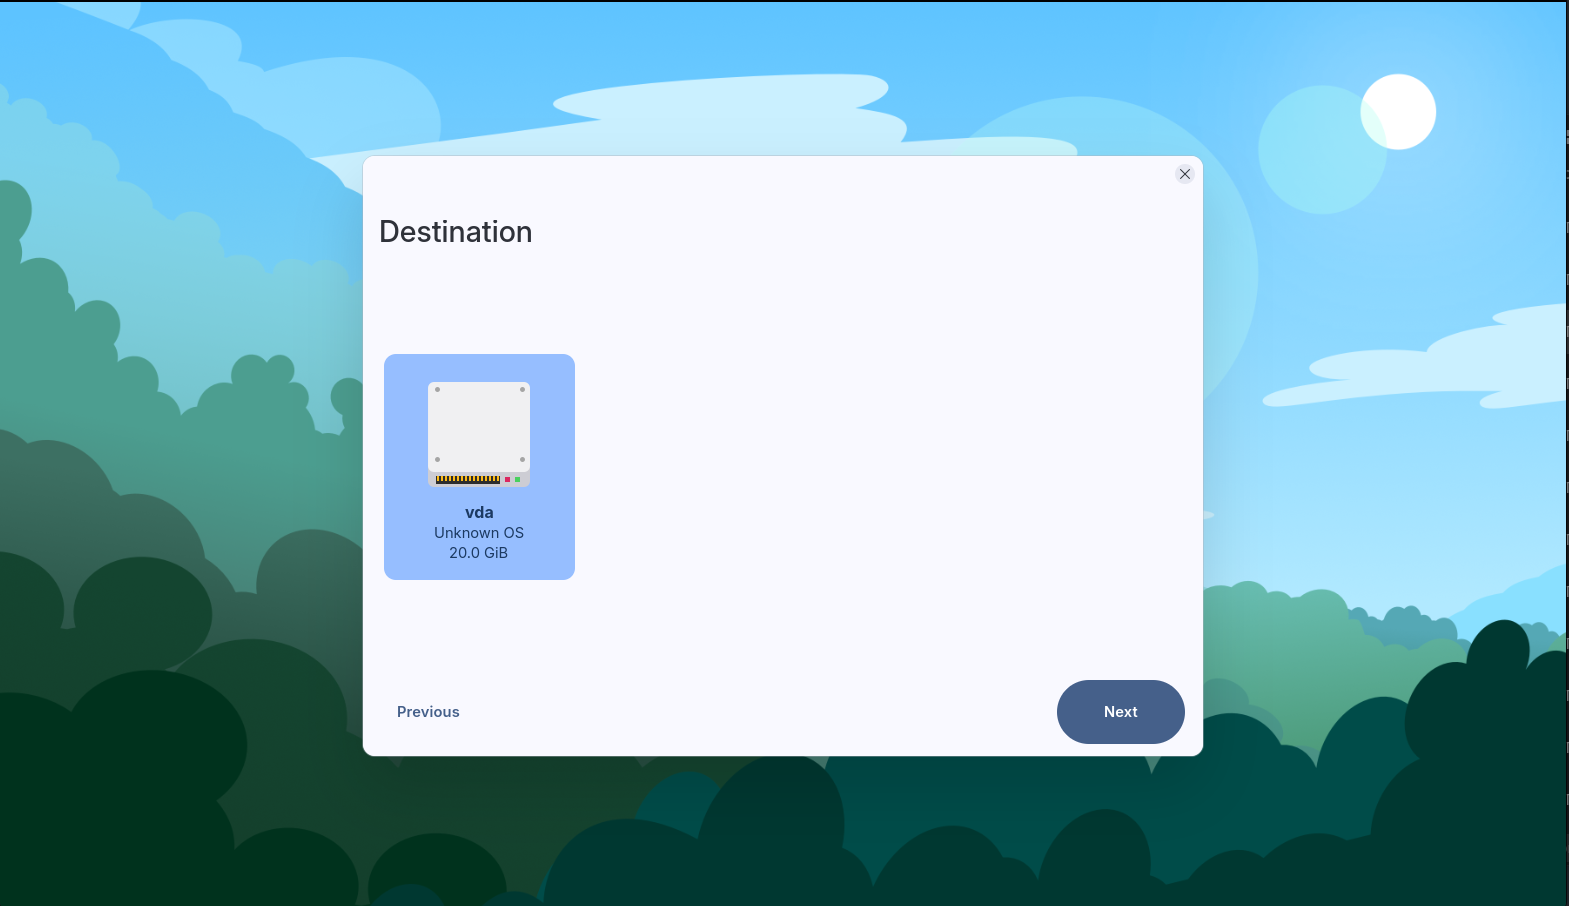
Select the device you would like to install to. Make sure you select the correct device, since after installation the data on the selected device will be wiped.
Installation Type

From here, select Entire Disk. Note that a custom option will come in future releases.
You also have the option to encrypt your disk, and enable TPM encryption. When you encrypt your disk, you will be prompted to enter a password used for encryption. Note that this is in no way tied to your Ultramarine user password.
We recommend encrypting your disk for added security. Simply select the “Encrypt” checkbox, and you will be prompted to enter a passphrase for encryption. You will need to enter this passphrase every time your system reboots.
For more information on how encryption works, refer here.
Confirmation
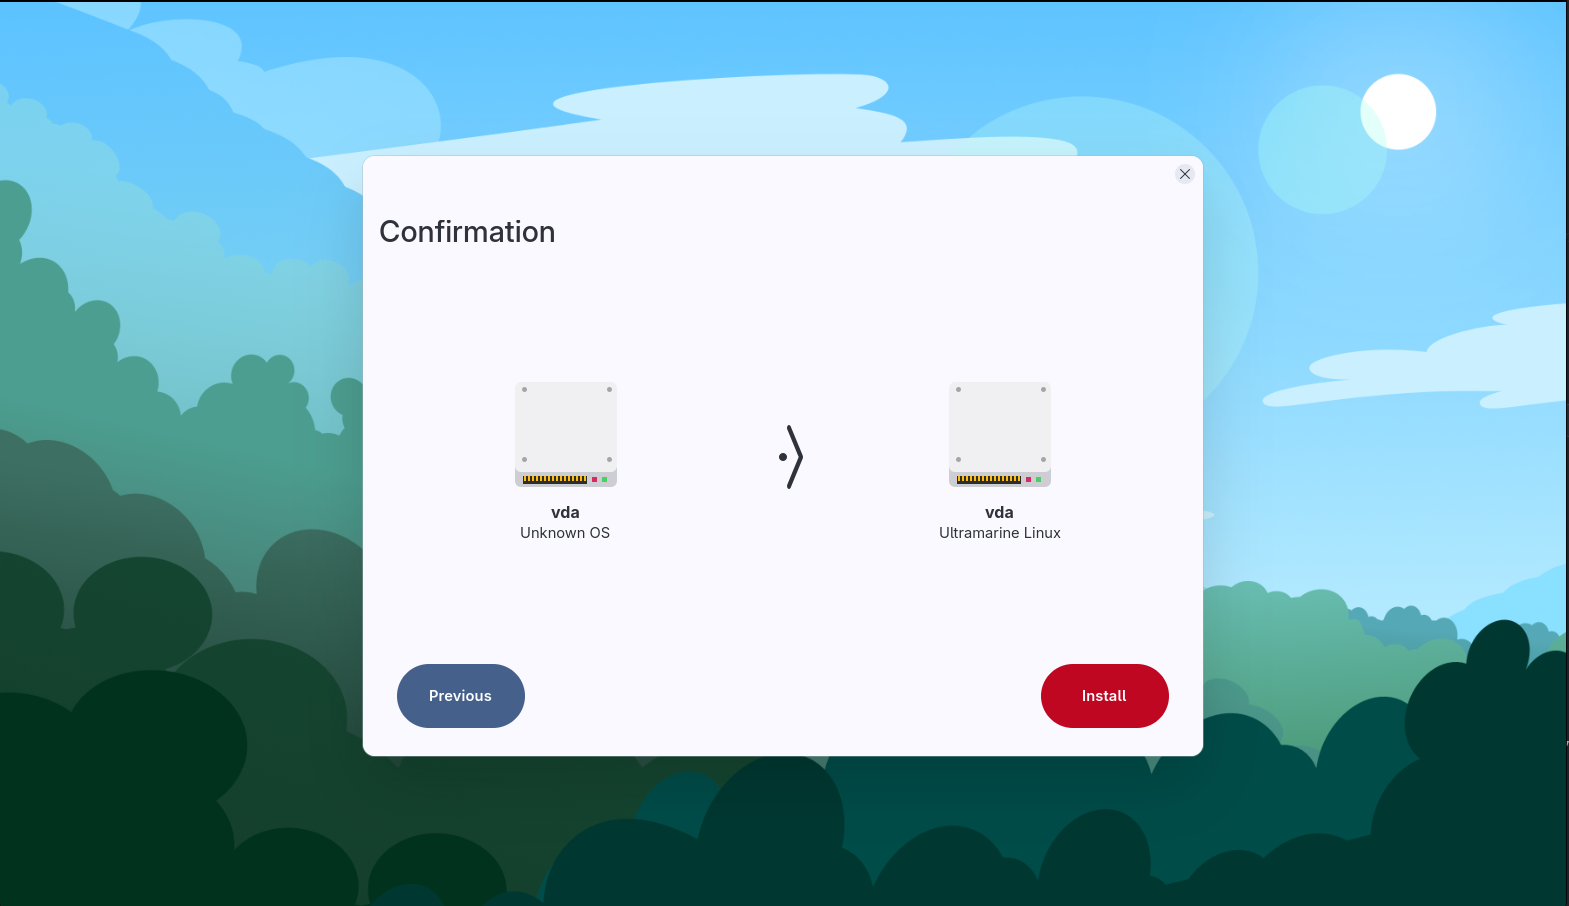
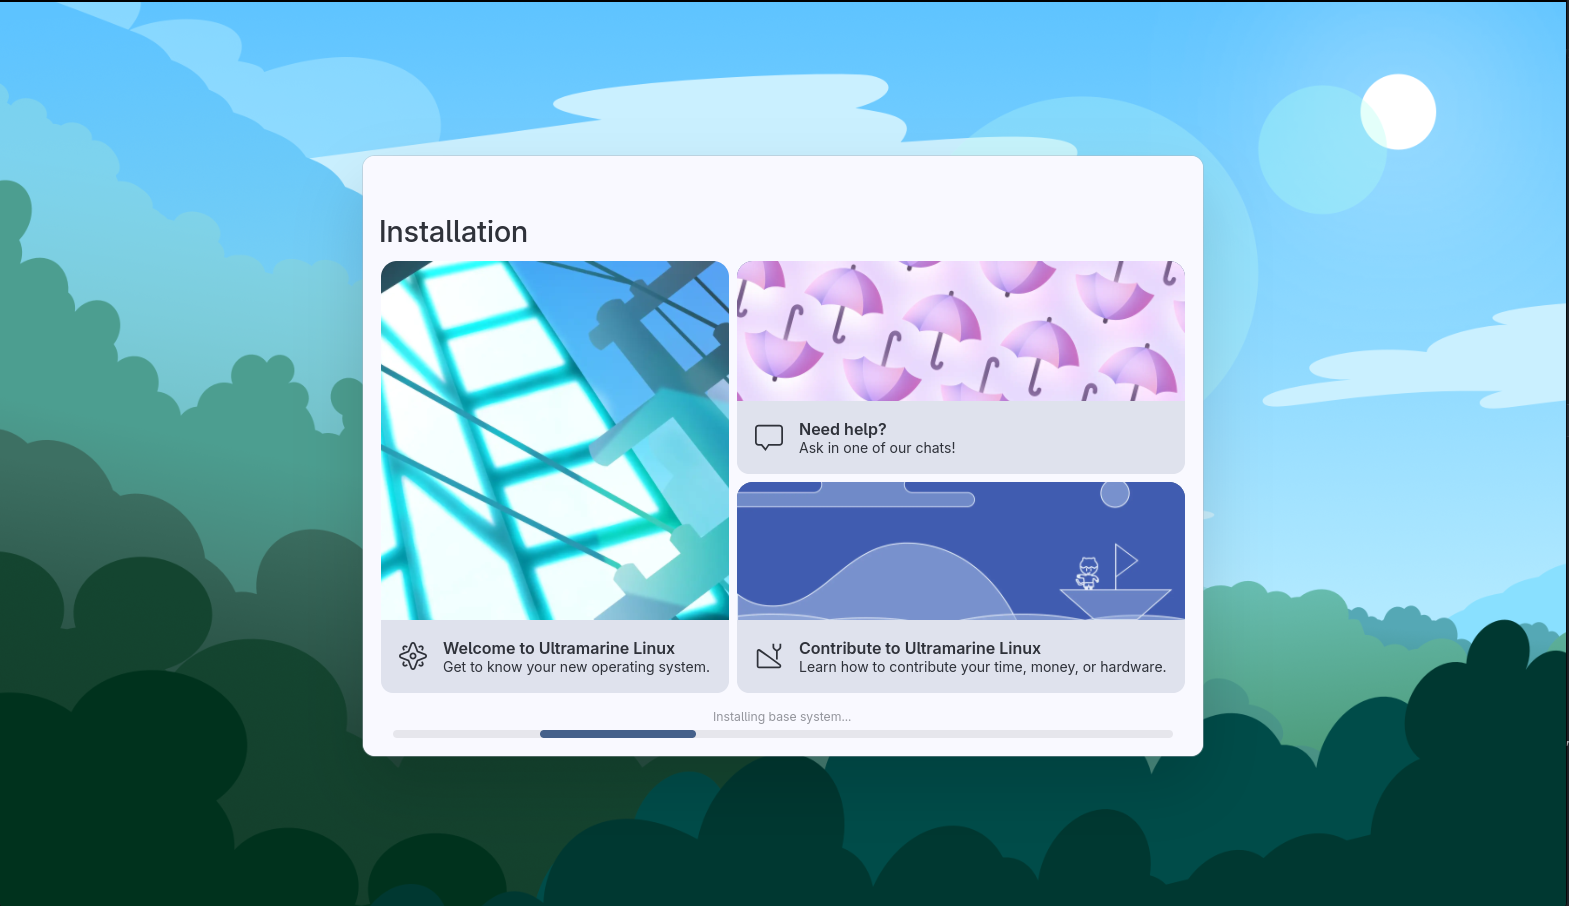
Now, you are ready to install. Select Install to begin. You will then be taken to the page below, with links to our wiki, chats, and contribution information that will open in the live environment during the install.
Installing
This process is IRREVERSIBLE. If you manage to stop the installer before
it finishes, you will end up with a broken system.
To fix this, you
will have to reinstall.
After the installation process is complete, Readymade will prompt you to reboot your device.
When the system reboots, you will be greeted with our out-of-box app, Taidan. For a guide on using Taidan, go here.
Encryption
FDE (full-disk encryption) is a method to secure your data from potential theft/attack. It works by rendering all data unreadable (encrypted), unless unlocked with a matching authentication key (this typically occurs when the device is turned on).
- In Anaconda, This authentication key can be unlocked using a passphrase. This means that if the drive was removed and placed into another computer, the data would still be unreadable until the passphrase is entered.
- In Readymade, This authentication key can be unlocked using a passphrase or a device’s TPM2. This means that if the drive was removed and placed into another computer, the data would still be unreadable until the passphrase is entered. If the drive was encrypted using TPM2, the data will be unreadable if attached to another device.
BitLocker is common on Windows systems, FileVault is common on macOS systems, and LUKS is common on Linux systems. When enabling disk encryption when installing Ultramarine Linux, you are using LUKS.
LUKS Full-Disk Encryption
LUKS (Linux Unified Key Setup), specifically LUKS2, is the standard disk encryption method on many Linux systems.
LUKS uses a multi-layered encryption approach, meaning that when you use LUKS encryption, you enter a passphrase that is then used to unlock the master key, which is stored in the LUKS partition header. This master key is then used to unlock the partition’s encrypted data. You will loose access to your data if the header is overwritten, or the password is forgotten.
TPM backed LUKS Full-Disk Encryption
What a TPM is and how it works is beyond the scope for this wiki, refer here if you’re interested.
TPM encryption can be enabled in Readymade by selecting Enable TPM after selecting Enable disk encryption. Please note a TPM 2.0 is required for using TPM backed FDE in Readymade.
TPM backed full-disk encryption replaces your LUKS password entry step by storing the decryption key (to the master key stored in the LUKS partition header) in the TPM instead. Here are some reasons this could be useful to you:
- The TPM can detect malicious system changes, helping to prevent evil maid attacks, among other vulnerabilities.
- TPM backed FDE is also useful in preventing LUKS passphrase brute-forcing in the case of drive theft, as the only way to decrypt the master key is using the TPM associated with the drive (and it is much, much more difficult to crack the mastery key).
- When using a TPM, you are also safe from keylogging and memory extraction attacks.
There can also be drawbacks to using TPM as well. Here are some reasons this could not be useful to you:
- TPM/motherboard failure can prevent data recovery. If this is a concern, we reccomend creating a backup key.
- If an entire computer is stolen, the encryption will still auto-decrypt itself, leaving a system with essentailly user passphrase security only, which can be bypassed and broken.
Taidan (Out-of-Box) Guide
After rebooting into the installed system, you will be greeted with our out-of-box app, Taidan. Below is a simple guide on each Taidan page.
Language Selection
First, select your preferred language.
Welcome
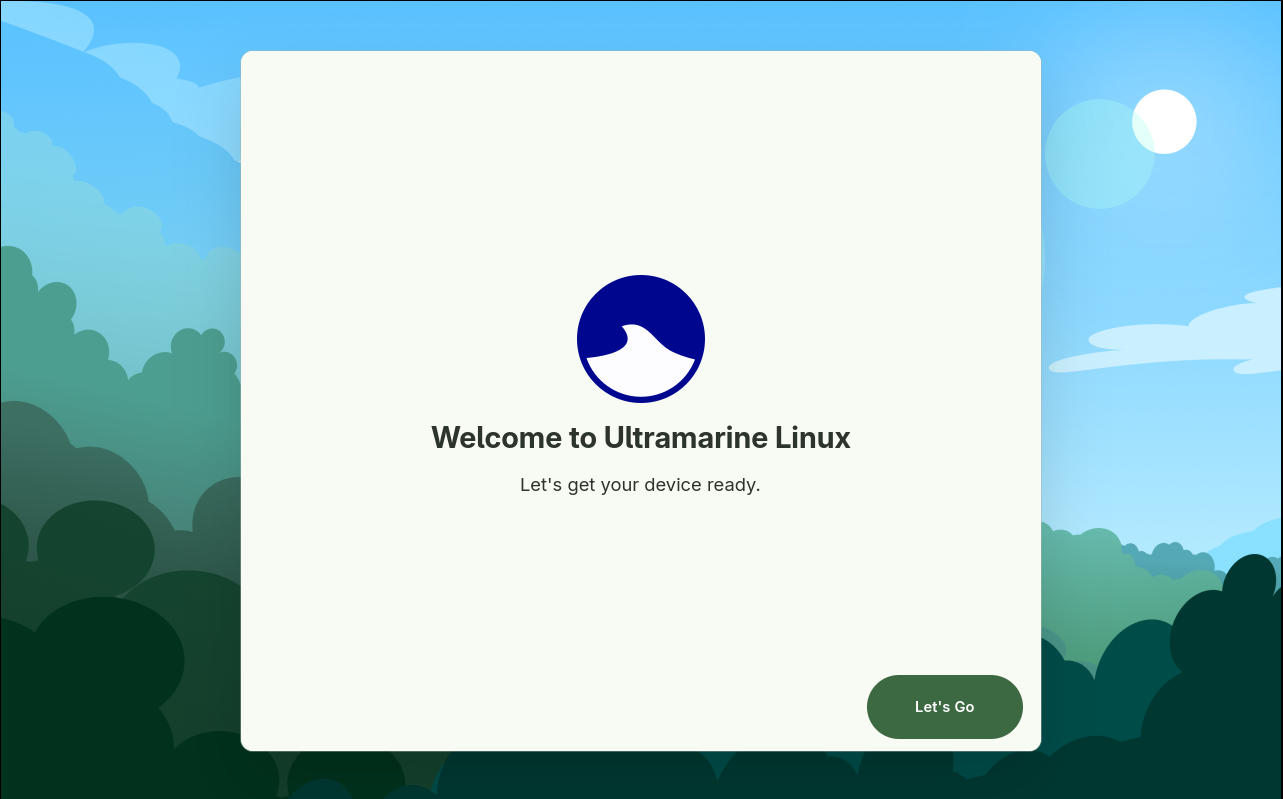
Select Let's Go
Keyboard Configuration
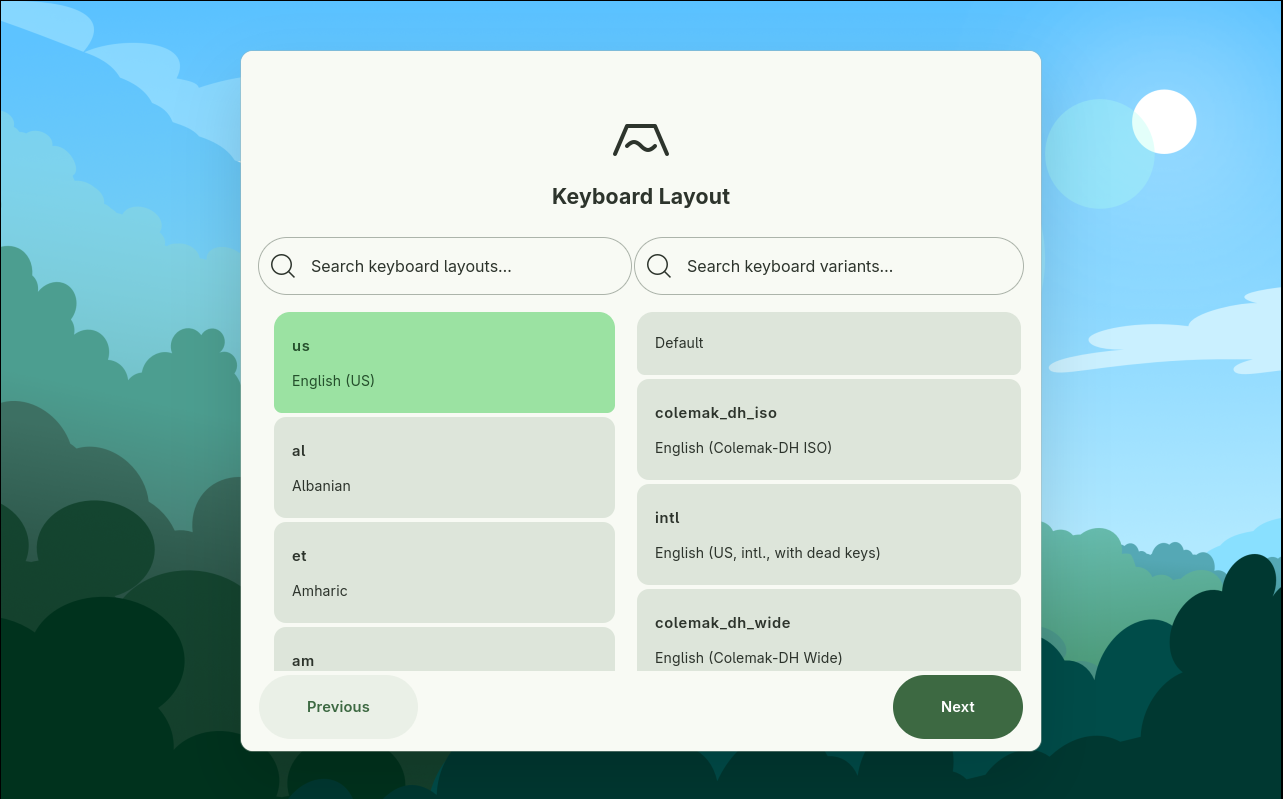
Select your keyboard layout. If you’re unsure, you probably just want the default.
User Creation
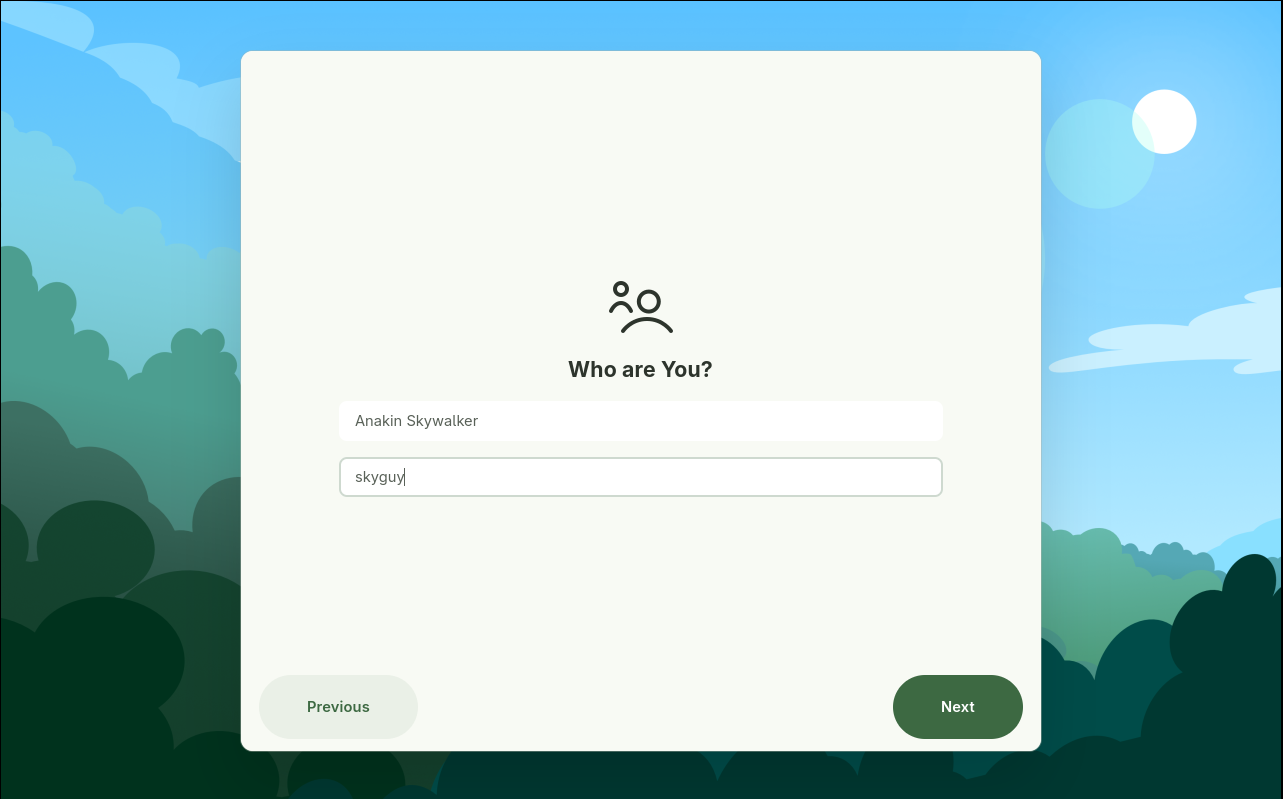
Enter what you want your name, and device’s hostname, to be.
Password Creation
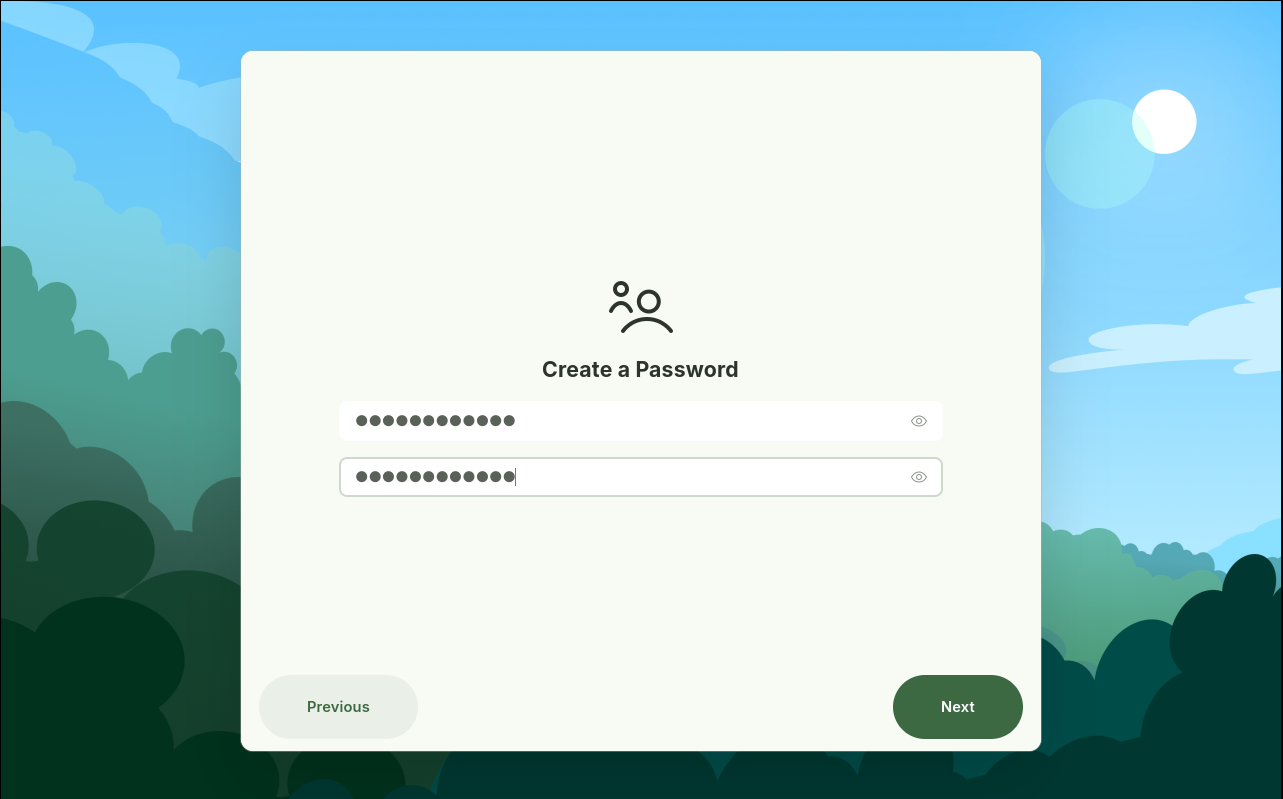
Enter, and then re-enter, what you want your password to be.
Connect to the Internet

Here we can connect to the internet. If you have an Ethernet connection, it should connect with no configuration needed. If you need to connect to WiFi, open the WiFi picker and select your network.
System Tweaks
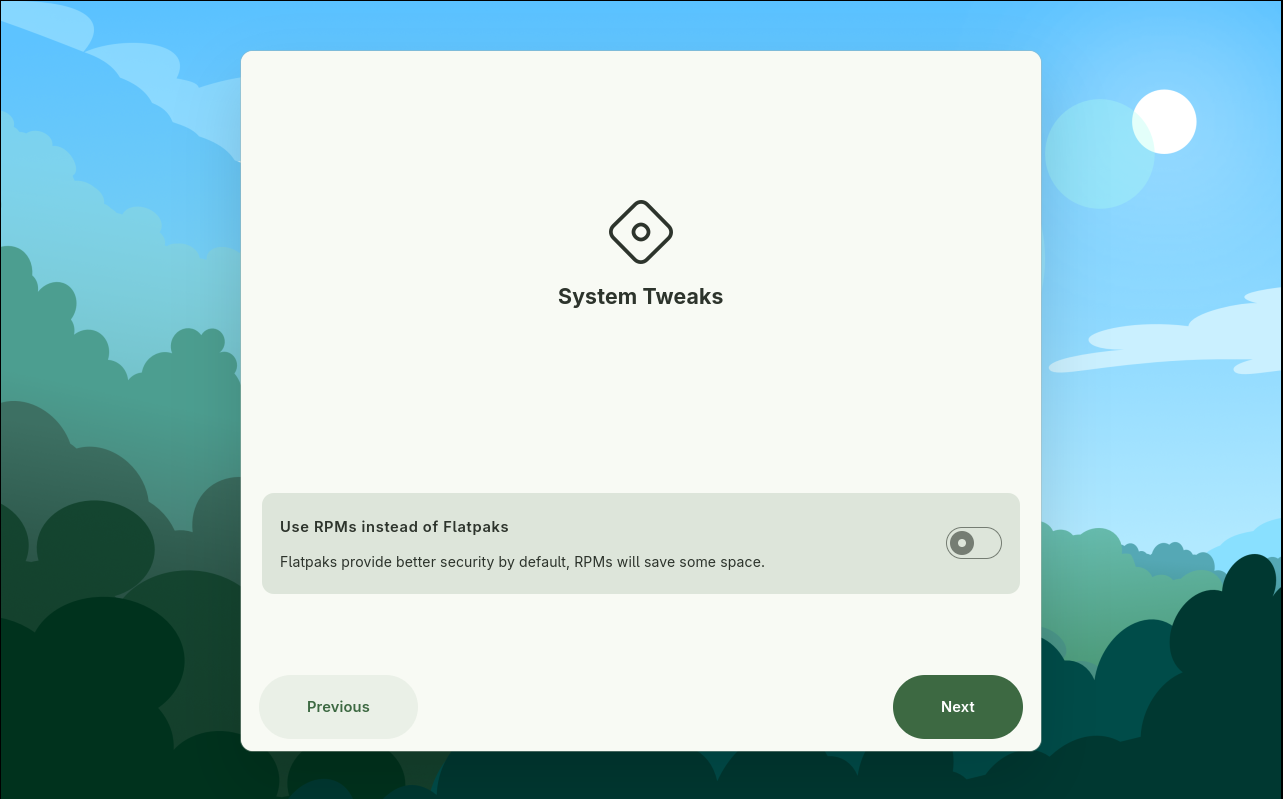
From here, you have the option to use RPMs instead of Flatpaks, we recommend you use Flatpaks for security and compatibility reasons, but RPMs can be useful if you have less than 20GBs of disk space.
Install Codecs and Drivers
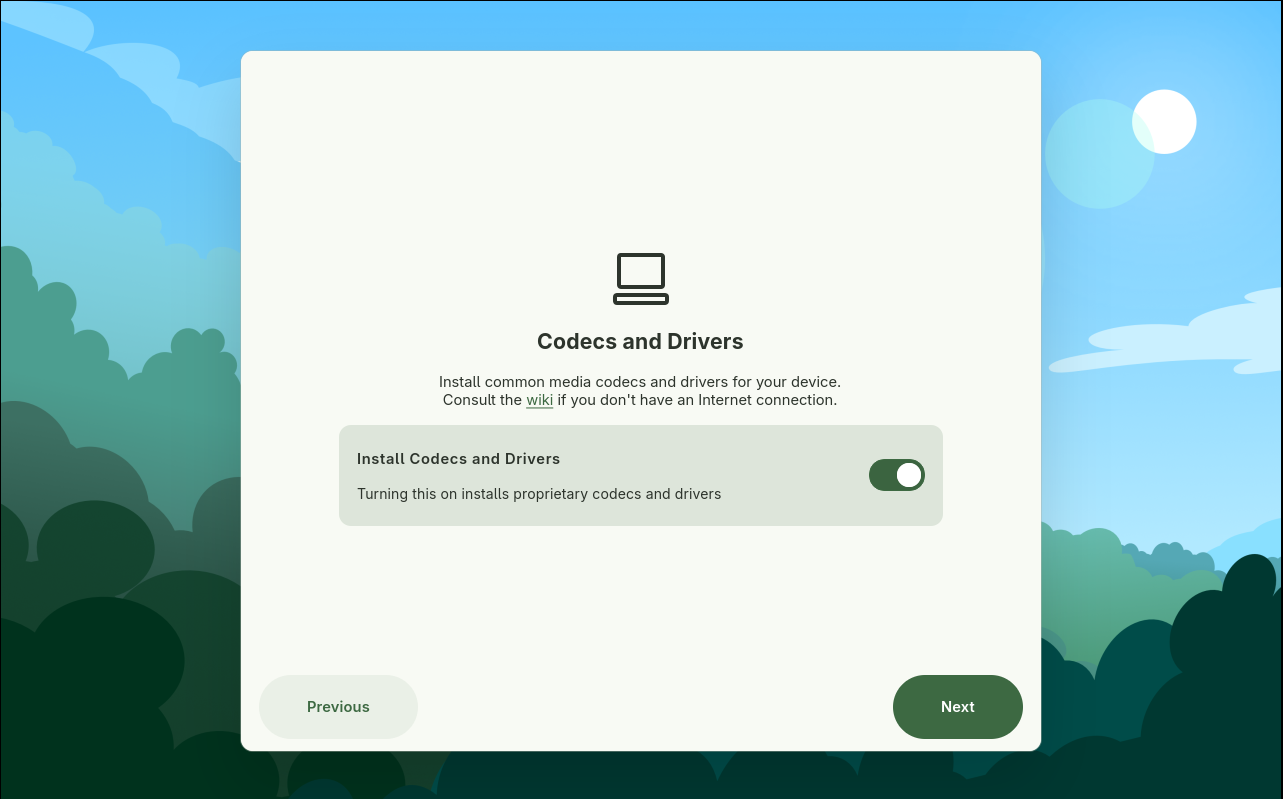
From here, you can leave the toggle enabled to install proprietary codecs and drivers.
Add Additional Input Methods
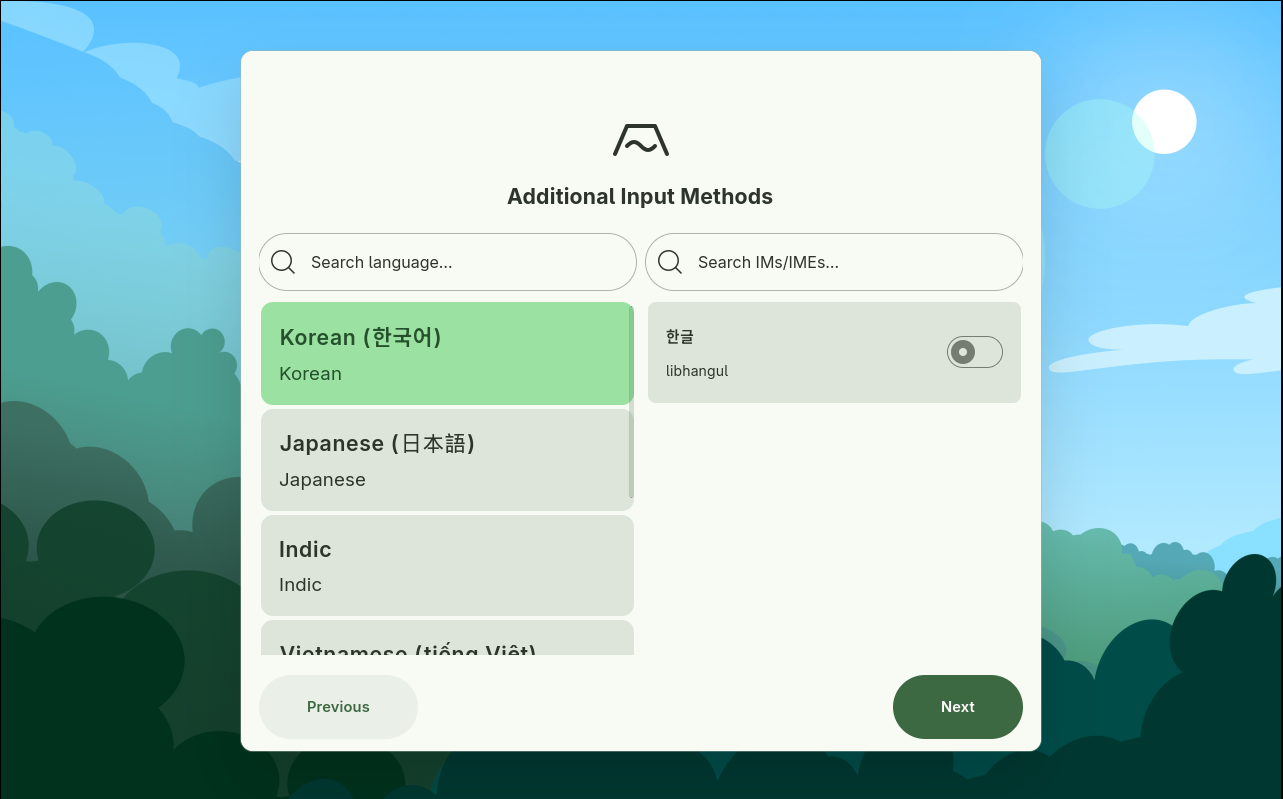
If you’d like, you can add an additional input method. The screenshot shown here is if you choose to add a new method. If you do not want to add one, feel free to skip this page.
Turn on Night Light

If you’d like, you can turn on a more yellow-tuned color tone, which may be easier on your eyes.
Once you press Confirm and Setup System, Taidan will start the configuration process, as seen below.
Sit Back and Relax!
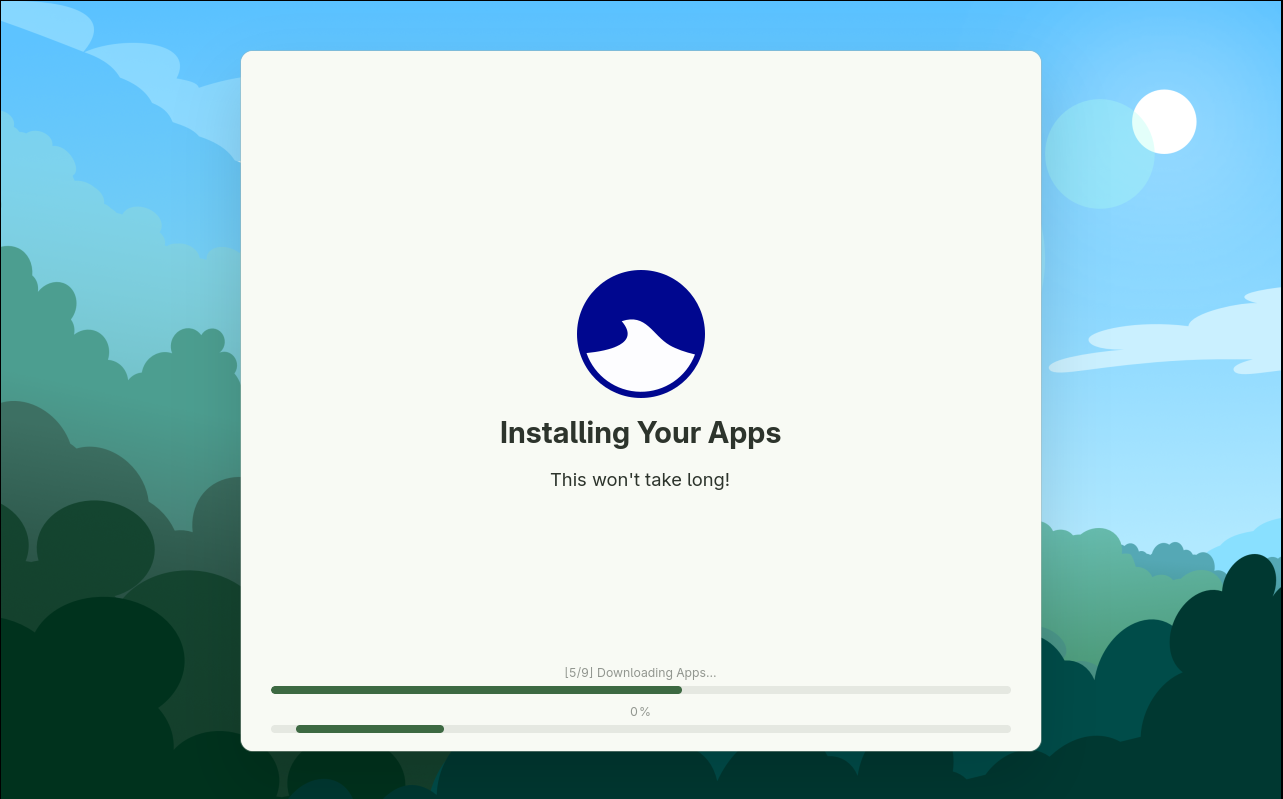
Taidan is now configuring your system, installing codecs and drivers, and installing your flatpaks.
Finished!
You’re all set! Select Done to be greeted with your new Ultramarine system.
We hope you enjoy using Ultramarine!
Issues and Support
If you run into any issues at all, please hop into our chats and let us know!